
Super Easy At-Home Science Experiments
At-home science experiments have been a life saver for us lately. But since I’m craft/science/patience challenged, the experiments we attempt need to be super easy and fast or we all lose it and end up in tears. Here are a few of our favorites that we’ve tried so far!
Egg Drop
This one took a while, but it was fun. And there are so many ways to do it! We started by watching this YouTube video from science experiment extraordinaire Mark Rober (all of his videos are really cool!). Since Mark used straws to construct his egg drop apparatuses, we did too. But you could do anything, like a bubble wrapped egg sealed in an Amazon box (I know you have several lying around, because #quarantinneshopping). After we finished constructing our apparatuses, we dropped them from different heights (standing, step ladder, tree house) and on to different surfaces (grass, concrete). Everyone had fun and it killed a big chunk of time!


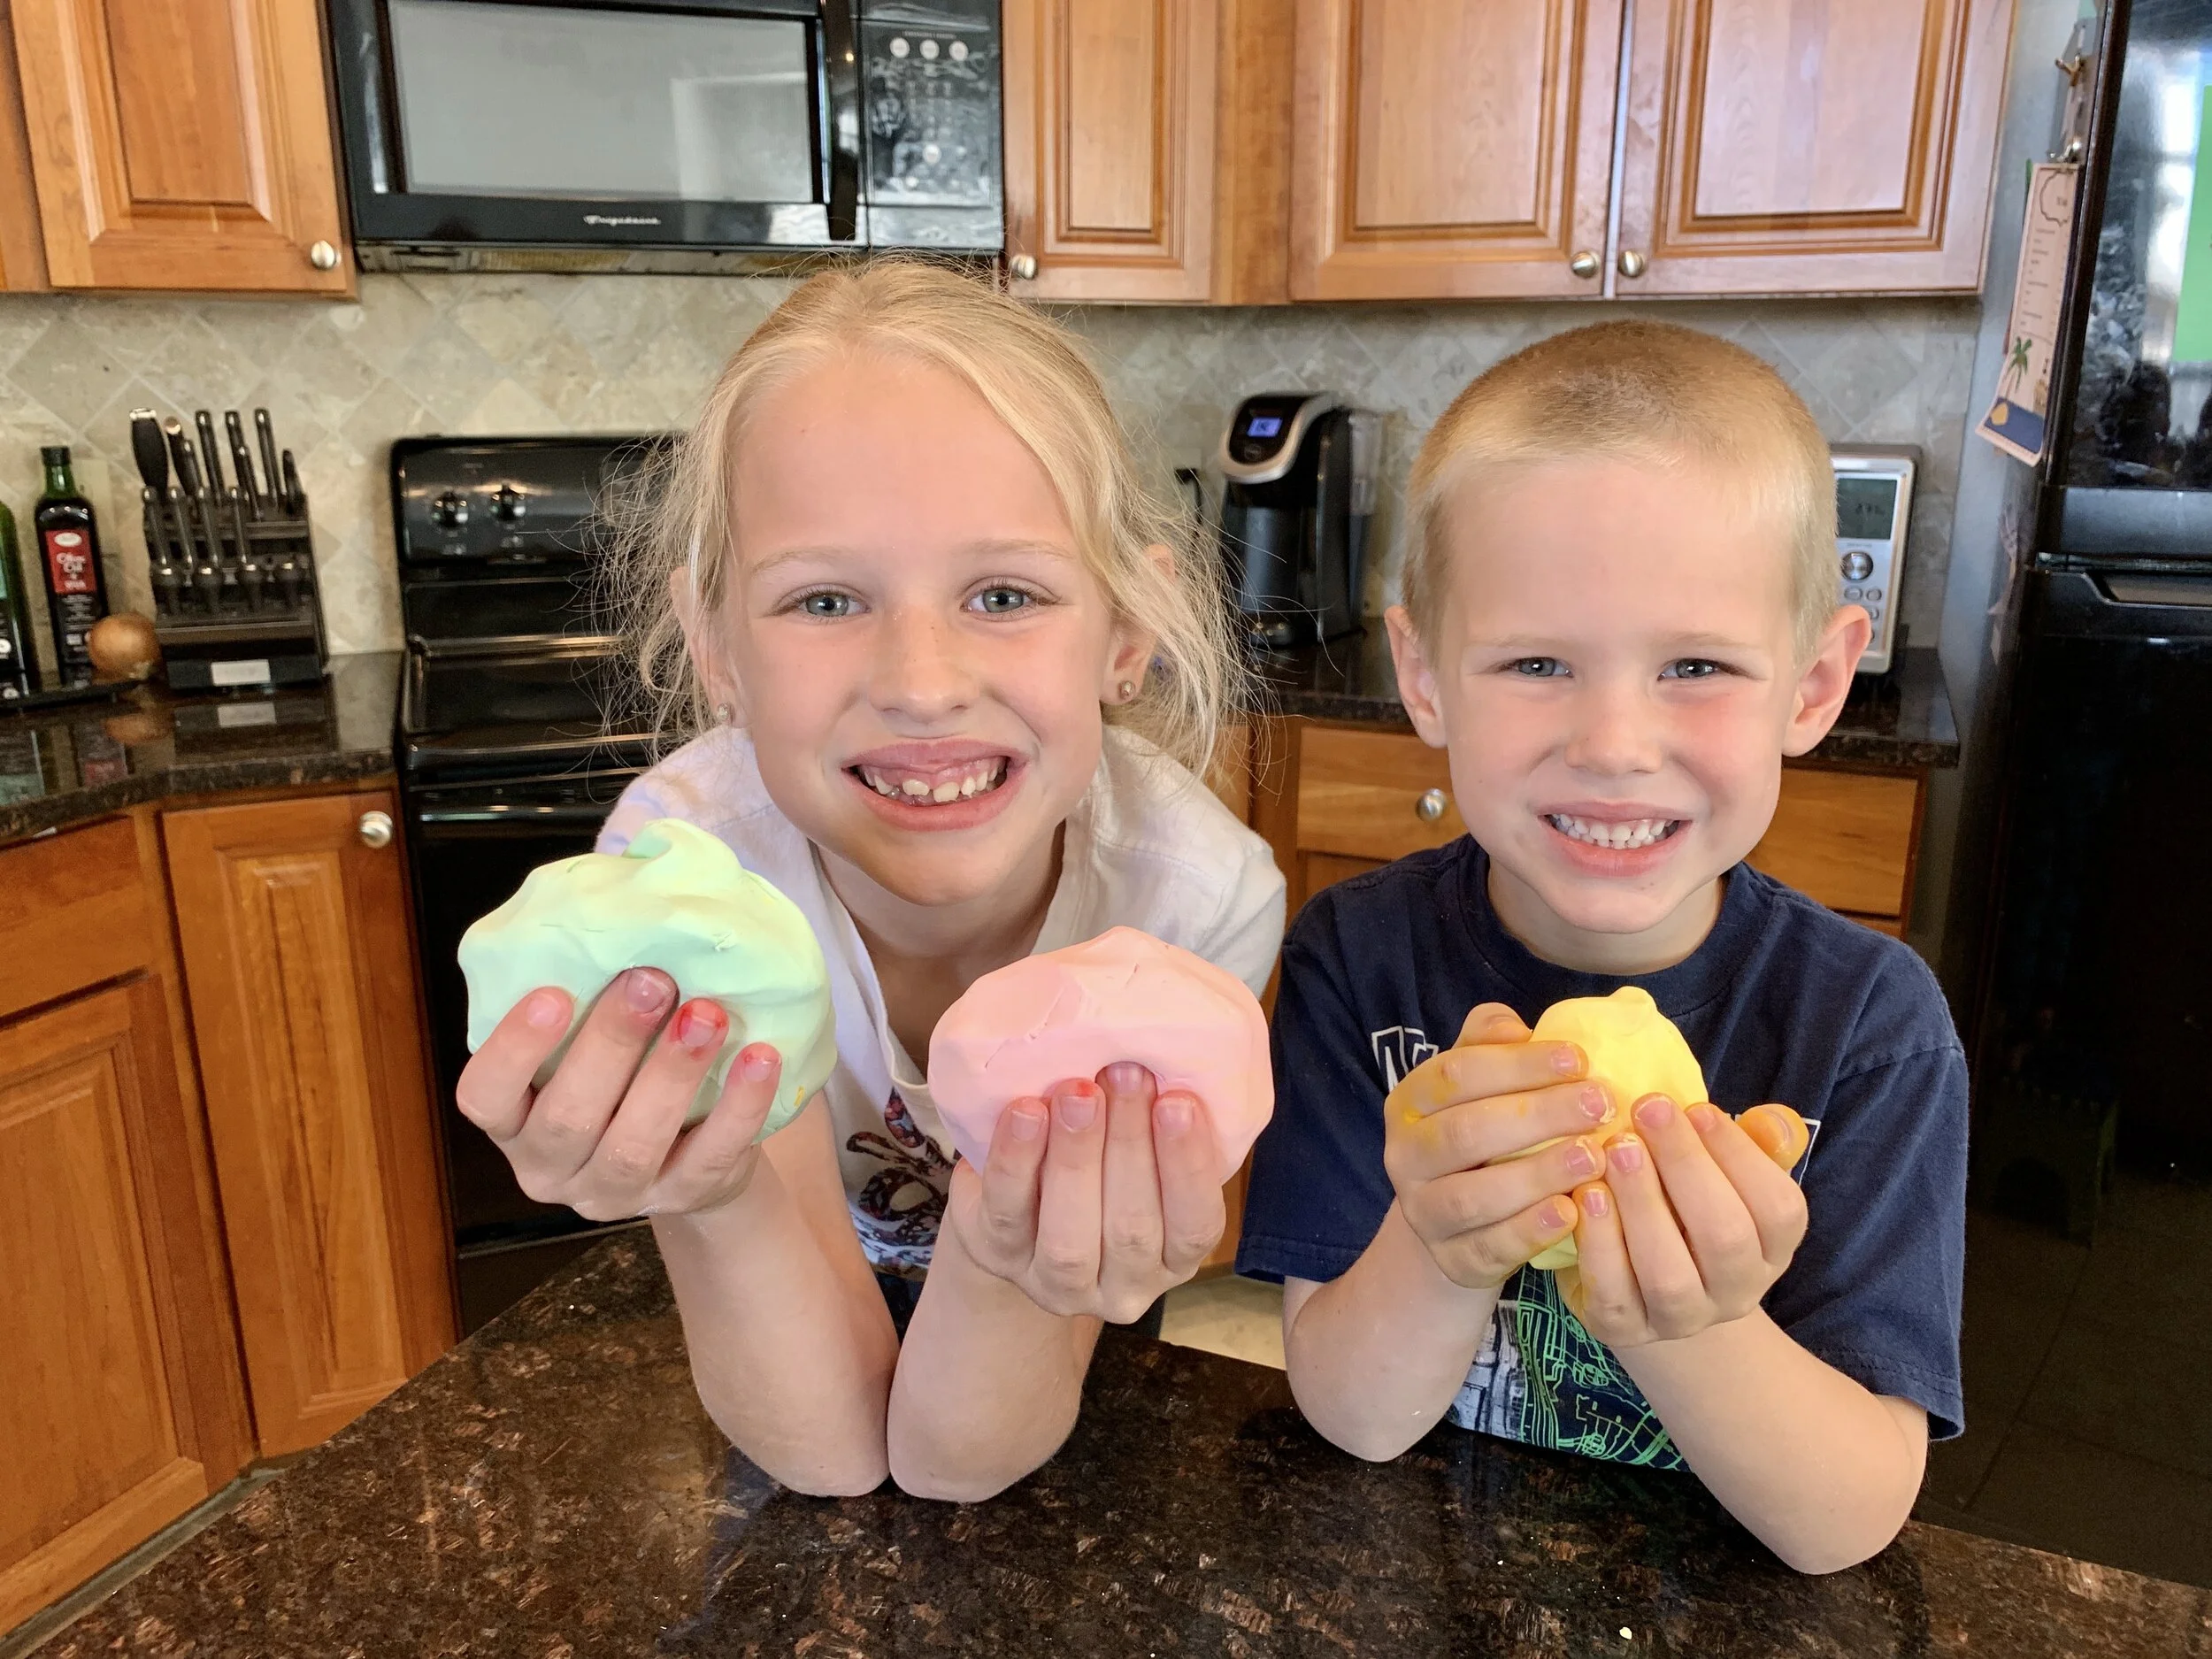
Cloud Dough
This one is soooo easy- literally two ingredients (or three if you want to use food coloring). Just mix together two cups cornstarch and one cup baby lotion. Knead it together until combined, add food coloring if desired, and just keep kneading and playing! We had to tinker with the ratios to get it just right, so add corn starch or lotion as needed until you get a consistency that isn’t sticky or crumbly.

Ice Cream in a Bag
This is another three ingredient experiment that has a sweet payoff. Combine 1/2 cup whipping cream, 1 tablespoon sugar, and 1/4 teaspoon vanilla in a sandwich bag with a zipper. (My addition to the instructions- seal the ingredients bag into another zipper sandwich bag, otherwise you may end up with salty ice cream.) Fill a gallon ziploc with ice and salt, insert the sandwich bags, wrap with a towel, and shake for 5 minutes. Voilá- homemade vanilla ice cream!

Paper Towel Rainbow Bridge
We first saw this on the Ryan’s Toy Mobile YouTube channel, but I won’t link it because I can’t stand Ryan’s Toy Mobile (it was a screen time emergency). But it’s super easy to do without a video! Simply mix together water and food coloring to make the colors of the rainbow, each in a different container. We used glass ramekins because that’s what we had on hand, but you could use juice glasses, regular glasses, or even plastic cups- basically anything that holds water. Fold up some paper towels and place them into the containers, with each towel spanning two containers. Give it a couple minutes to absorb and you’ll have a beautiful, soggy rainbow!


Rainbow Paper
This one comes from 20 Minute Labs, which I love. Again, just three materials: water, clear fingernail polish, and construction papers. Watch the video to see how they scoop their shapes in and through the nail polish. OR do what we did that ended up working better for us (pictured): Sink the paper shapes to the bottom of the plate of water, drop the nail polish on top of it, then pull the shapes out by the corners. Note that using a dark plate and dark construction paper makes the process easier and final product prettier.


And just like that, science for the week is done! I try to discuss a few sciencey things with my kids as we’re doing these experiments, but we mostly just have fun. Do what works for you! If you’re Super Science Mom, explain and teach away! If you’re Just Trying To Survive Mom (hello, me!), just do your best to have some fun time together.